Quitabug Handmades- Home
Shop Now
Order 24/7
Join my Team
Paper Pumpkin
Classes and Events
Videos and Projects
Videos
Image Map
Showing posts with label hedgehugs. Show all posts

Monday, May 6, 2019

Sending HedgeHugs Your Way...| Retiring


Happy Monday! Today's project features the retiring Hedgehugs stamp set which has a cute collection of images. I just love the simple sweetness of this card.


HOST CODE-  M9GFHEMA 


Project Measurements
Grapefruit Grove card base 5-1/2" x 8-1/2" scored at 4-1/4"
Whisper White layer 3" x 4-1/4"
Designer paper 1/2" x 4-1/4"

Helpful Tips:
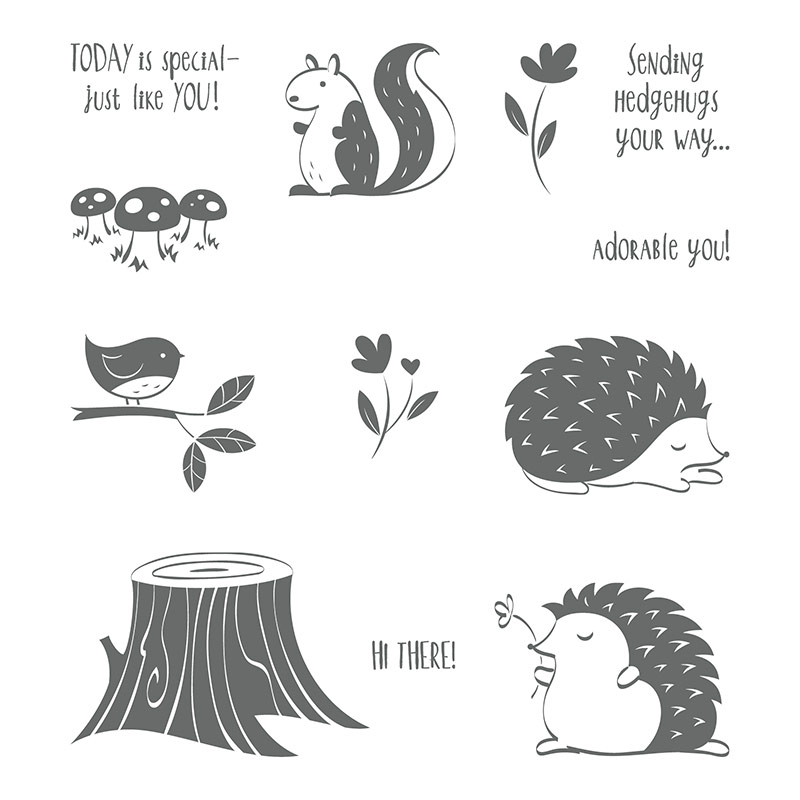
  • Stamp the flower image on half of the card front using Grapefruit grove ink to create a fun tone on tone background.
  • Evenly place both hedgehog images onto one Clear Block I. This will give perfect placement on your card. Ink up and stamp the hedgehogs in Soft Suede ink. Color in the flower petals using a Real Red Stampin' Write Marker.
  • Use Wink of Stella to move the ink and color in the faces of each hedgehog.
  • Punch out a piece of Whisper White cardstock using the 1-1/2" circle punch. Stamp the sentiment in Soft Suede ink. Ink up the flower stem using Mint Macaron Stampin' Write Marker and Real Red Stampin' Write Marker for the petals.
  • Pop up each Whisper White layer using dimensionals.


Note: If viewing this blog post in an email, CLICK HERE to see post with full supply list.


Shop Now Join my Team Paper Pumpkin Image Map

Wednesday, April 11, 2018

Sending Hedgehugs Your Way


Happy Wednesday! Today's project features the cute Hedgehugs stamp set. This stamp set has some fun animal images and I've been wanting to use it for awhile. Last week I had a "Critter" challenge for my team and I figured this would be the perfect stamp set to use.


HOST CODE- DAAZZHKJ


Hedgehugs Stamp Set


Project Measurements
Early Espresso card base 5.5" x 8.5" scored at 4.25"
Real Red layer 3.75" x 5"
Gold Foil layer 3-5/8" x 4-7/8"
Wood Textures DSP layer 3.5" x 4.75"


Helpful Tips:
  • I used the Wood Textures Designer Paper to add a more realistic feel to this card. 
  • Using my Stamp-a-ma-jig helped me get perfect placement of my hedgehog. After stamping him in Crumb Cake, I used a blender pen to lightly spread the ink over his belly and face. I also used a blender pen to color the flower in Real Red ink. 
  • I finished the card with a bow using Linen Thread. This added additional texture and an earthy touch. 


___________________________________________________________________________

On a side note...yesterday, we celebrated my pup Watson's 2nd birthday! His actual birthday is April 6th but since I was out of town for Stampin' Up!'s OnStage event that day, we decided to celebrate when I returned. He had a great time playing outside and going for a walk. We had planned to also let him take out his swimming pool and splash around a bit but the evening went by too fast. Maybe we can give him some pool time later this week or on the weekend. We finished off his birthday celebration by singing Happy Birthday and giving him a delicious (I assume it was delicious...he sure ate it like it was) Pup-Pie! I love how happy he looks in the picture with his pie! ♥♥♥


Shop Now Join my Team Paper Pumpkin Image Map