Quitabug Handmades- Home
Shop Now
Order 24/7
Join my Team
Paper Pumpkin
Classes and Events
Videos and Projects
Videos
Image Map
Showing posts with label celebrate you thinlits. Show all posts

Tuesday, August 28, 2018

Celebrate You


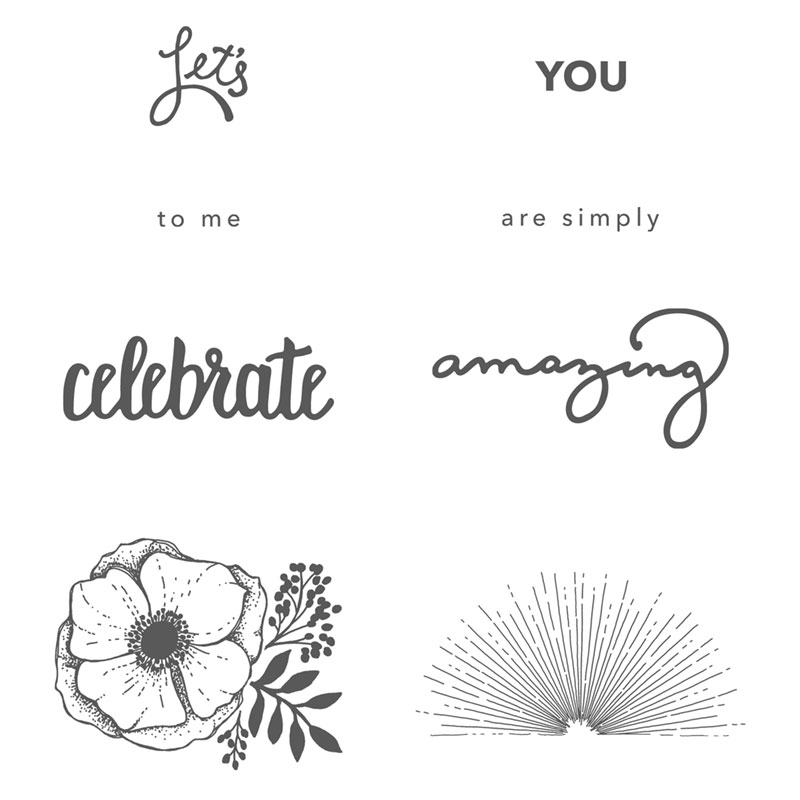
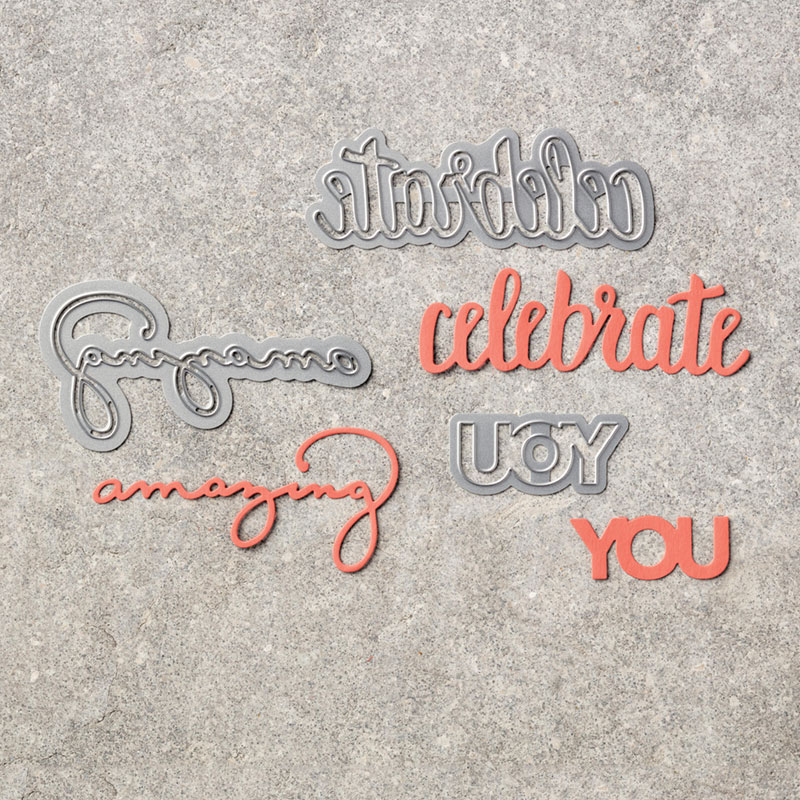
Happy Tuesday! Today's project features lots of layering and patterns. I love the mix of prints and colors in this card. I combined the new Bouquet Blooms stamp set with the Celebrate You Thinlit Dies. The oh so gorgeous Share What You Love Designer Series Paper was the perfect background for this card.


HOST CODE- 2RVBT7F4


Project Measurements
Tranquil Tide card base 5.5" x 8.5" scored at 4.25"
Designer paper layer 4" x 5.25"
Designer paper banner 2" x 5.25" (banner using triple banner punch)
Mint Macaron banner .75" x 5.25"


Helpful Tips:
  • Use Adhesive Sheets to make adhering the die cut words easier. 
    • Cut a piece of cardstock down to size. Lay it on top of the adhesive sheet and cut it down to size (this way you waste less of the sheet).
    • Peel off the top layer of the Adhesive sheet. Stick your cardstock to the exposed adhesive.
    • Place your die on top of your cardstock and run the entire piece through your big shot.
    • Remove the die and your image should be nicely cut.
    • Peel the backing off of your die cut and adhere it to your project.


______________________________________________________________________


Good news: Bonus Days are back!
Here’s how it works: For every $50 you spend in myOnline Store from August 1–31 (before shipping and tax), earn a $5 Bonus Days coupon code that can be redeemed September 1–30.

*No limit to the number of coupons you can earn or redeem.


HOST CODE- 2RVBT7F4


Shop Now Join my Team Paper Pumpkin Image Map

Thursday, March 22, 2018

Celebrate Amazing You


With only 10 days of Sale-A-Bration left, I thought I would focus on creating projects showcasing these amazing freebies! The Amazing You stamp set + Celebrate You Thinlits are definitely one of my favorites this year. I love that we have thinlits as an Level 2 option (free when you spend $100). This fun thinlits will also be carried over into our 2018-2019 annual catalog being released in June. Woohoo! Isn't that so exciting!! The Amazing You stamp (free when you spend $50) set is beautiful and will definitely be one I keep in my collection, even after celebration. I love the variety of fonts and the images.


HOST CODE- CUMNQV4Z


Helpful Tips:
  • I started by stamping the flower image all over the background of my Flirty Flamingo card base, in Flirty Flamingo ink. This creates a fun tone on tone look. 
  • I stamped the flower onto the Whisper White layer and the envelope in Emerald Envy ink. I then stamped the image again on a scrap piece of Whisper White in Flirty Flamingo ink. I hand cut the large part of each flower out and adhered it on top of the Emerald Envy Flowers. This allowed me to have pink flowers with green leaves.
  • I die cut and adhered the words using the Multipurpose Adhesive Sheets
  • I rounded the corners of the Basic Black and Whisper White card stock using the envelope punch board. 


Project Measurements
card base 5.5" x 8.5" scored at 4.25"
Basic Black layer 3-1/8" x 4-1/8"
Whisper White layer 3" x 5"
Evnvelope flap 2.5" x 6" (adhere to flap then cut of excess overhang)


Shop Now Join my Team Paper Pumpkin Image Map

Monday, January 15, 2018

Sale-A-Bration Product of the Week


My second Sale-A-Bration Product of the Week is the Amazing You Stamp Set + coordinating Celebrate You Thinlit Dies! The stamps work well on their own; the thinlits are also a great stand alone -- but together is when they really make magic!


HOST CODE- GFZ633HG
SHOP Stampin' Up!


Click here to watch the video tutorial.


Project #1

Measurements:
card base 5.5" x 8.5" scored at 4.25" (once scored/folded cut off 1/4" from the open side opposite the fold)
Whisper White layer 1-3/4" x 4"
envelope flap (pick a pattern designer paper) 2.5" x 6" (adhere to flap/cut off excess)

Tip: 
Stamp the flower image twice in Rich Razzleberry and cut out the out layer and inner layer. Adhere the two layers together with a dimensional to add some depth to this simple card.


Project #2

Measurements:
card base 4.25" x 11" scored at 5.5"
whisper white layer 4" x 5.25"
old olive layer 3" x 3"
powder pink layer 2-7/8" x 2-7/8"
whisper white layer 2-3/4" x 2-3/4"
envelope flap (whole lot of lovely designer paper) 2.5" x 6" (adhere to flap/cut off excess)


Project #3

Measurements:
card base 5.5" x 8.5" scored at 4.25"
whisper white layer 3.75" x 5.5"


Tips:
Use Stampin' Write markers to color the flower image in multiple colors.


Shop Now Join my Team Paper Pumpkin Image Map