Quitabug Handmades- Home
Shop Now
Order 24/7
Join my Team
Paper Pumpkin
Classes and Events
Videos and Projects
Videos
Image Map
Showing posts with label botanical builder. Show all posts

Friday, May 5, 2017

Stampin' Up! Botanical Floral Flamingo Card


Today's project is absolutely gorgeous and makes me wish I was at the beach! I combined the Pop of Paradise stamp set with Botanical Blooms and what a gorgeous duo they make! The inspiration for this card began with my team color challenge this week:


These colors are amazing together!! I'll definitely be putting them to goo use on more projects in the future. Watch the video tutorial below for step-by-step instructions on making this card. 
Botanical Flamingo Card
Order 24/7 HERE


Project Supplies


Check out the Retiring Products HERE

Project Measurements
Crumb Cake card base 4.25" x 11" scored at 5.5"
Designer paper layer 4" x 5.25"
Whisper White layer 2" x 4"


Shop Now Join my Team Paper Pumpkin Image Map

Tuesday, July 12, 2016

Stampin' Up! Special Day Flamingo Card


Happy Tuesday!

I shared this beautiful card on my Facebook page last week. It was such a hit, I decided to create a post on how it was created. 

Project Supplies


Steps to Create

1. Cut the whisper white card base at 4.25" by 11" and score at 5.5".

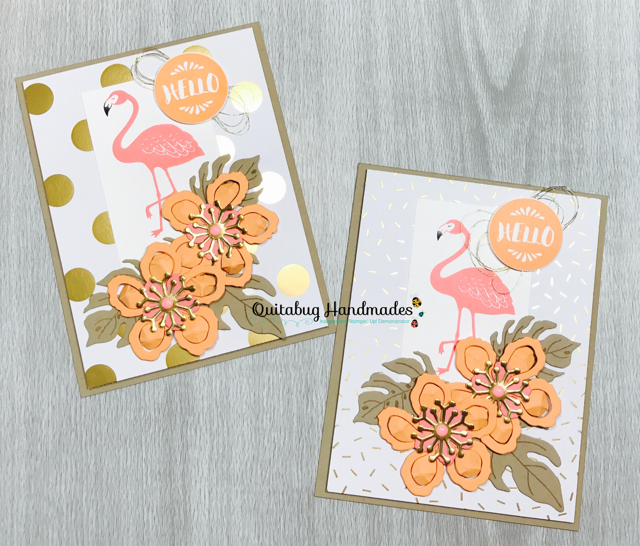
2. Stamp the flamingo on whisper white card stock using Flirty Flamingo ink and the Pop of Paradise stamp set. 

3. Cut out the flamingo image using the Lots of Labels Framelits. Using basic black card stock cut a slightly larger label. Adhere the flamingo label to the basic black label. 

4. Cut a 1.25" by 4" strip of vellum. Stamp the "A Very Special Day" sentiment in basic black. Use your heat tool to dry the ink. 

5. Cut a 3" by 5" black/white striped piece of background paper. Wrap/adhere the vellum strip to the striped piece. Adhere the background paper to the left of the card base.

6. Adhere the layered flamingo image to the card. 

7. Use the big shot and the Botanical Builders Framelits to cut 2 basic black flowers, 1 melon mambo flower, and 2 emerald envy leaves. Stamp the emerald envy leaves using the Botanical Blooms stamp set. Adhere the flowers and leaves above the flamingo image. 

9. Add some bling to the card using the Jewel Basic Rhinestones. 

10. Finish up this project by decorating your envelope using the Botanical Blooms stamp set. 

Share this card with someone special! :)


Shop Now Join my Team Paper Pumpkin Image Map

Sunday, April 17, 2016

Stampin' Up! Saturday- Celebrate Today Layered Flower Card


Hey there!

I had a super fun Saturday yesterday and didn't get the chance to post this tutorial...so here it is! I absolutely LOVE this project. I used the flower medallion punch and the botanical builder framelits to create the layered flower. The flower literally jumps off the card! It's SO beautiful! I would probably eliminate some of the dimension if I were mailing this card but I'm not so I'm leaving it, lol. 

I hope you enjoy today's tutorial! You can order supplies below and also find the measurements to re-create this project. 

Let me know if you have any questions!

Celebrate Today Layered Flower Card
ORDER 24/7: www.quitabughandmades.stampinup.net

Project Supplies
CLICK the images to shop!


Project Measurements
Whisper white note cards & envelopes 3.5" by 5"
Stamped layer cut at 2.5" by 3.75"


Shop Now Join my Team Paper Pumpkin Image Map