
Friday, June 29, 2018
Quitabug Stampers Team Showcase

Thursday, June 28, 2018
Love What You Do Swaps
Happy Thursday night! I had such a full day today but wanted to be sure I shared this pretty set of swaps with you today. I created these cards for my May team swaps. I absolutely love the way they turned out. The Share What You Love Suite is GORGEOUS! The colors, the papers, the embellishments...everything! Love it!
HOST CODE- ZN2QDDFT
Project Measurements
Tranquil Tide card base 5.5" x 8.5" scored at 4.25"
Tranquil Tide layer 4" x 5.25"
Designer paper layer 1.75" x 5.25"

Wednesday, June 27, 2018
Broadway Star| June 2018 Paper Pumpkin
Not much for subscription boxes? No worries, you can still enjoy the fun of these monthly surprise boxes by purchasing one of our pre-paid options below!
Isn't this color combination the best?! You can check out more coordinating products for this kit in the Broadway Bound Suite.
Click HERE to view the suite.


Tuesday, June 26, 2018
Thank You
Happy Tuesday! Today's project is simple but definitely makes a statement. I used products from the new Graceful Glass Suite for this card. I have a fun tip below on how to add color to the vellum.
HOST CODE- ZN2QDDFT
Project Measurements
Lovely Lipstick card base 5.5" x 8.5" scored at 4.25"
Vellum layer 2.5" x 5.5"
Pineapple Punch banner .5" x 3.5"
Whisper White sentiment layer .75" x 2.5"
Helpful Tips
- I used Stampin' Blends in Lovely Lipstick and Pineapple Punch to color the vellum. Pro Tip: For best results, color on the back of the vellum (not the embossed side) using your blends.
- Adhere the vellum by placing a Glue Dot in each corner.
- Wrap a piece of the Black Cord around the top flap of the card and hide the loose ends behind the sentiment. Cut another piece to tie around it in a bow. Use Glue Dots to adhere the bow in place.
- I decorated my envelope flap using the Eastern Beauty stamp set.

Monday, June 25, 2018
Time for Tea Project Kit
Kit available June 19 - 30
Happy Monday! I am so excited to finally announce the 2nd feature of June Club Quitabug, the Time for Tea Bundle! I absolutely love this bundle and the entire Tea Room Suite in the new catalog! I think you are going to really enjoy this project kit. I had so much fun coming up with project ideas.
Please note: Due to paper product price increases in the new 2018-19 Annual Catalog (along with a few other increases) the minimum order for Club Quitabug has been adjusted to $40 before tax/shipping.
HOST CODE- ZN2QDDFT

- Simply place a minimum $40 order (before tax/shipping) in my Online Store.
- You must use the the host code above at checkout. Do not use the host code if your order is $150 or more as you will become your own hostess and earn hostess rewards.
- You must order between June 19 - 30 in order to receive this FREE project kit. Kits will ship July 3.
It's that easy!
What's included in your kit:
- Consumable supplies to make 1 each of 3 different projects. Envelopes included. No stamped images in kit.
- Full color PDF with measurements and a supply list.
- Free copies of current catalogs included for new customers or anyone who hasn't ordered in the past 6 months.

Friday, June 22, 2018
Love What You Do May Customer Thank You Cards
Happy Friday! I'm so excited to bring you one of my favorite things each month, my customer thank you cards and gifts! Each month I send out a handmade card and gift to everyone who shopped with me the previous month. I truly appreciate all of the support you all show...it means so much to me! This is just one small way I can give back. ♥
HOST CODE- ZN2QDDFT
Everyone who shopped with me in May or paid for a Paper Pumpkin subscription receives a gift in the mail from me. Every month I offer a Hostess Gift for those who spend $75 or more in my Online Store using the current Host Code.

Wednesday, June 20, 2018
2018-19 Stampin' Up! Catalog Unboxing
Yay! Happy Wednesday evening! I'm so excited to dive into this new catalog with you! I finally got my first haul in from the new 2018-19 Annual Catalog by Stampin' Up! A couple of weeks ago I shared my Top 10 with you, so let's check out each one of those amazing products up close. I'm pretty sure you'll be able to feel my excitement through the screen.
HOST CODE- ZN2QDDFT
Download a digital copy of the new catalog HERE.
Want your own copy of the catalog? Email me at quitabughandmades@gmail.com

Monday, June 18, 2018
Together We Make A Great Pair
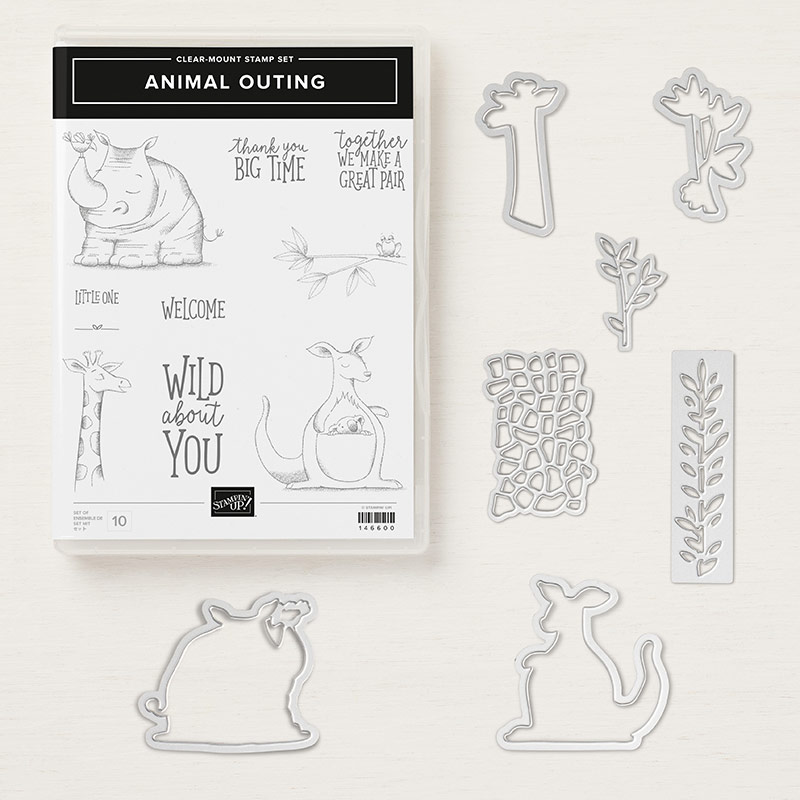
Happy Monday! I'm back from Vegas (had a blast by the way) and thought I would share a quick and easy card with you this evening featuring the new Animal Outing stamp set. This is such a cute set and it even comes in a bundle with a fun set of thinlit dies.
HOST CODE- QAY3JG9B
Project Measurements
Blackberry Bliss card base 5.5" s 8.5" scored at 4.25"
Grapefruit Grove layer 4" x 5.25"
Designer paper layer 1.75" x 5"
Blackberry Bliss layer 3.25" square
Whisper White sentiment layer 3" square

Thursday, June 14, 2018
Always Thinking of You
Happy Thursday! I'm so excited to share today's project. Have you ever just been in the mood for something simple? That's how I was feeling when I created this card. My office still isn't back to full organization yet; I wanted to create but with all the mess around me I wanted to keep things pretty simple. I came up with this card and it is GORGEOUS! Clean lines, colorful, bold, and simple! I love everything about it!
HOST CODE- QAY3JG9B
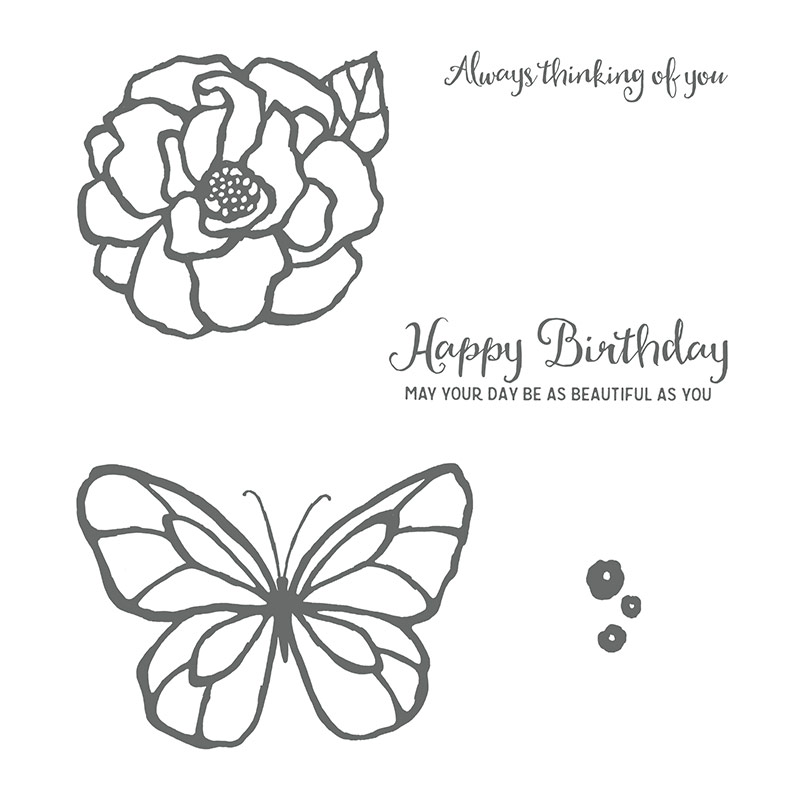
I used the Beautiful Day stamp set to create today's pretty project.

Project Measurements
Lemon Lime Twist card base 5.5" x 8.5" scored at 4.25"
Basic Black layer 3.25" x 3.25"
Watercolor Paper layer 3" x 3"
Helpful Tips
- Using our watercolor paper, stamp the flower image using Stazon ink. Pro Tip- for best inking results, use the Stamparatus to stamp the image multiple times.
- To water color the flower, squeeze each of your ink pads to pick up ink on the lids. Use Aqua Painters to pick up the ink and water color the flower image.

Subscribe to:
Posts (Atom)


